Tool Bar
The whole toolbar is shown below.

New Case
Create a new case out of work space with a default name ‘Untitle-0.lc2’, you should still find a path to save it later.You can also use on keyboard to complete this operation.
Open Case
Open a case in your local system. You can also use on keyboard to complete this operation.
Save Case
- If the case is created in work space,just click the button to finish saving.
- If the case is created by clicking the and it is the first time to save it, you have to find a path to save it. You can also use to complete this operation.
Import Case
Import a local case as a sub-process to current main process.
Inspect Element
Select the elements in the page and output the its CSSPath to the code area.Right click to exit.
Insert Link
Insert the current URL in code area where the mouse pointer is located.
Start Case / Pause Case / Continue Case
Start, pause, or continue the current case.
Stop Case
Stop the current case.
Start Record/ Stop Record
Convert all mouse and keyboard actions to codes.When starting recording, this button will change from to . Click it again to stop recording.
selector && xpath
Switch the selector in recording process, stands for CSSPath and for XPath.
Undo/ Redo
Back/Forward to the previous/next code change, you can also use / to complete this operation.
Split Editor
Split the editor and display the same content on the right, any changes on both sides will sync to the other side.Just like the split editor in Visual Studio Code.
Main Interface
The whole main interface is shown below, and is separated into 2 parts:
- Case List
- Coding area
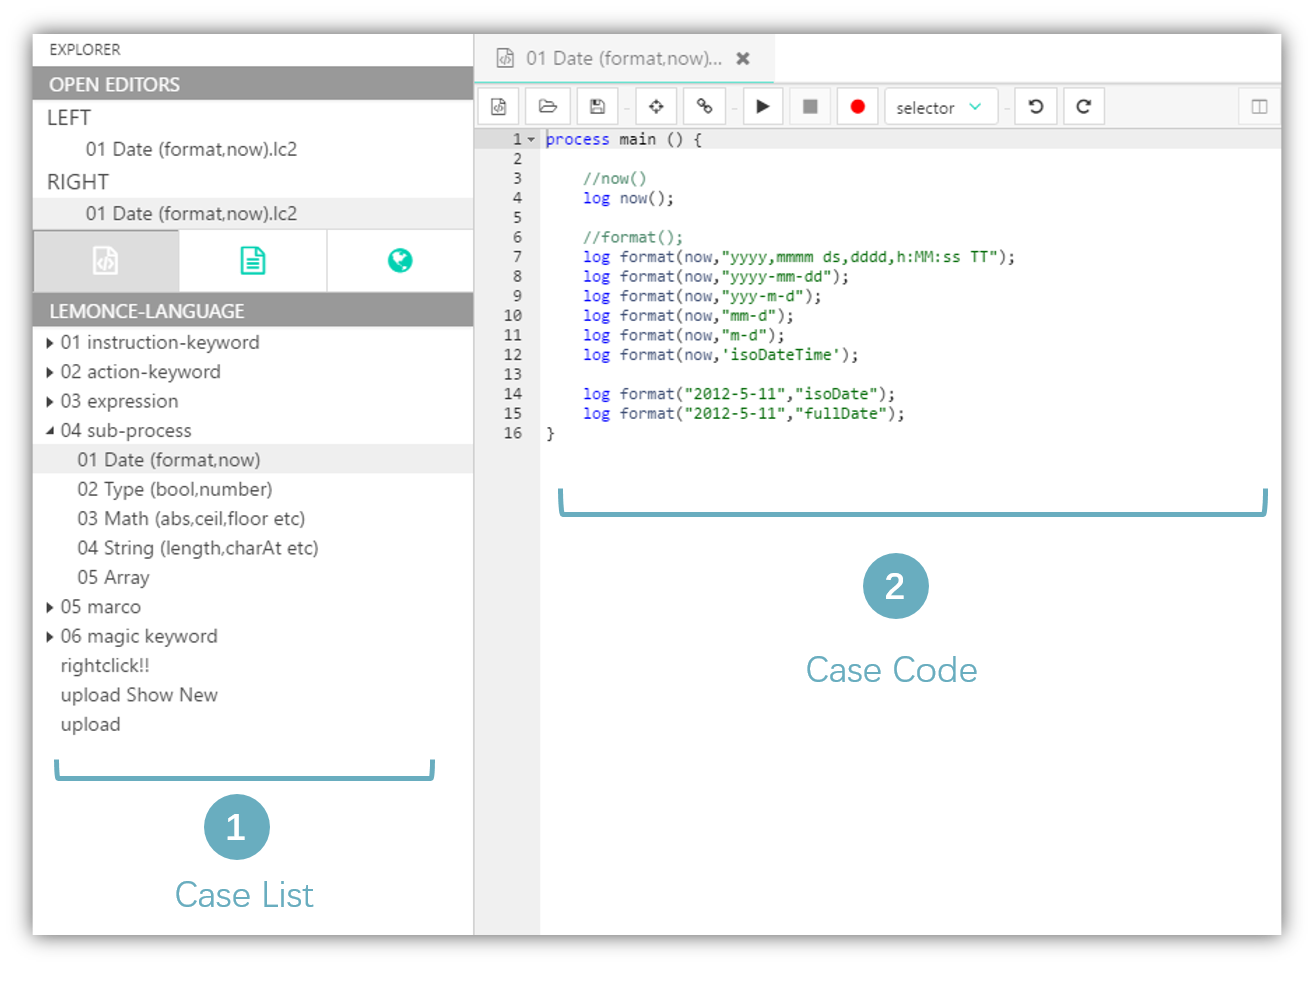
Case List
The Case List shows all the cases in the workspace. You can activate the case to be edited by double clicking it, and then the code contained in the selected case will pop up in the coding area.
Case Code
By recording or keyboard inputing, you can generate corresponding code in this area. Direct editing in the coding area is also allowed.